The Content menu contains major Digital Guide sections like Experiences, Restaurants, Services, Store and Categories.
Those sections ( except Categories) are displayed in the Digital Guide menu.
All content you want to display on the front page slider should be added under Content / Experiences and selected as Favorite.
Experiences
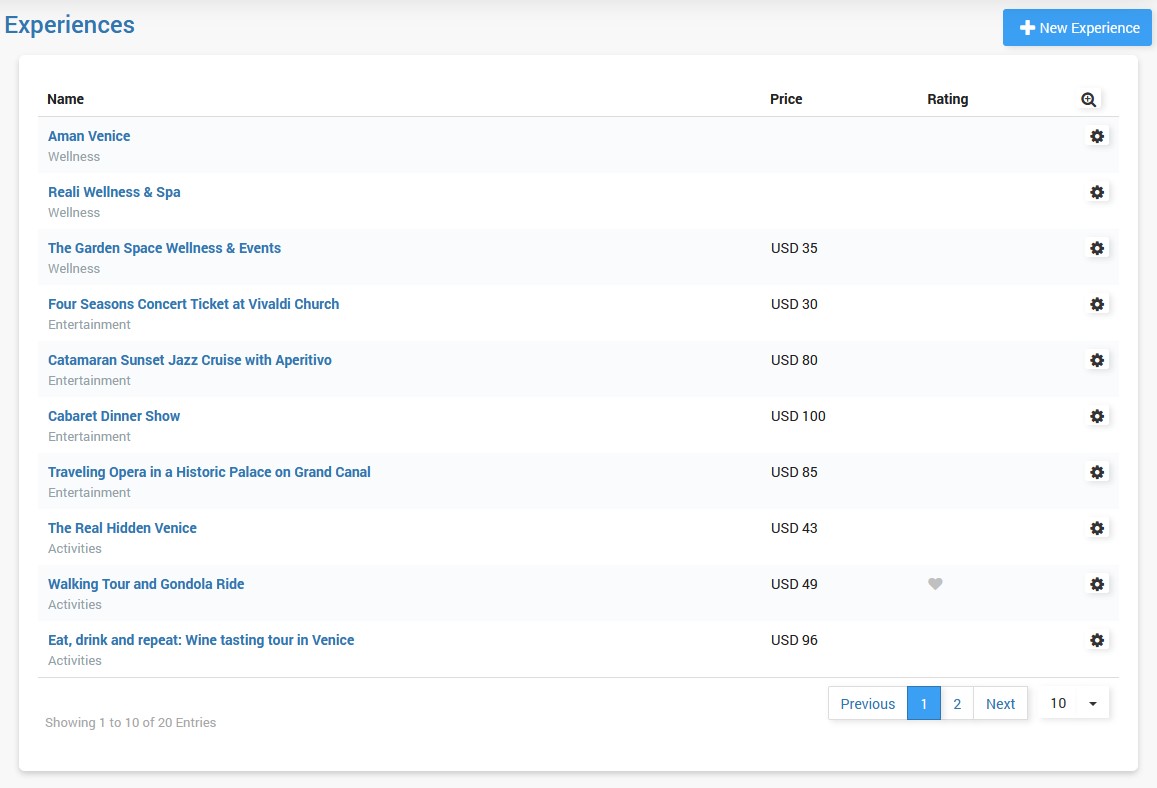
Experiences is your main category displaying items like excursions, activities, tours, events, and similar.
To create a new Experience click the New Experience button.
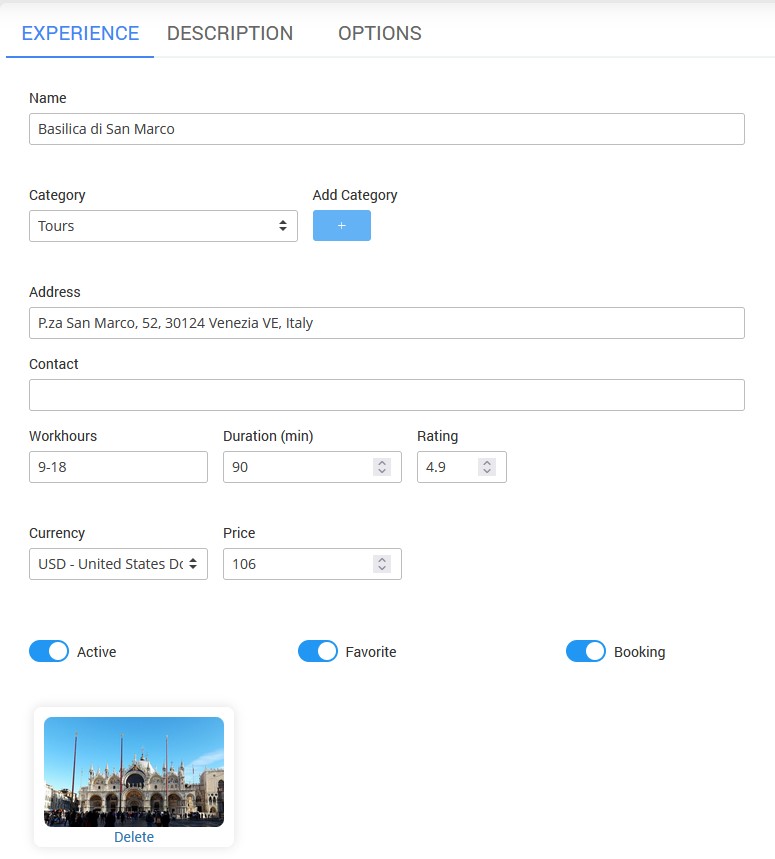
On the Experience page select Guide, and Category or add a new Category.
Set Experience Name, Address, and Contact.
Configure Experience Workhours, Duration, Rating, Currency, and Price.
Set Experience as Active, and optionally set it as Favorite or enable booking.
Finally, add an image that will be displayed on the Experience page.
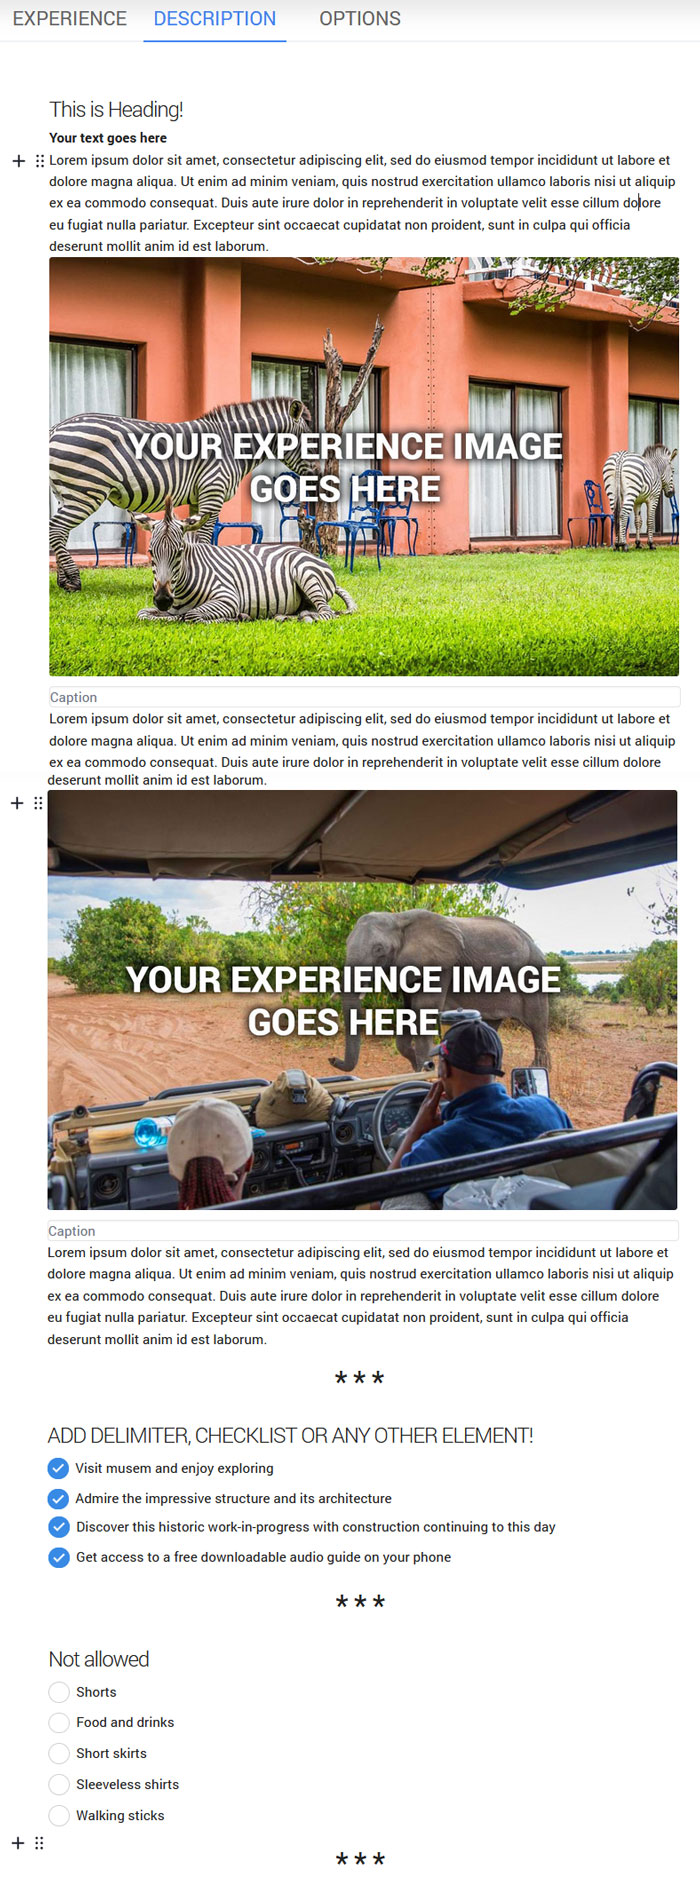
On the Description page, add Experience description text, images, delimiters, checklists, and other elements using the intuitive page editor.
Click anywhere on a blank page and + will appear.
Click + to open the dropdown menu with available elements.
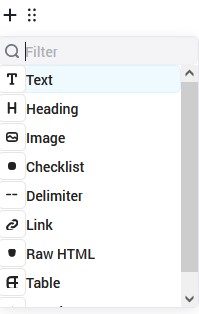 Click on the desired element to add it to the page.
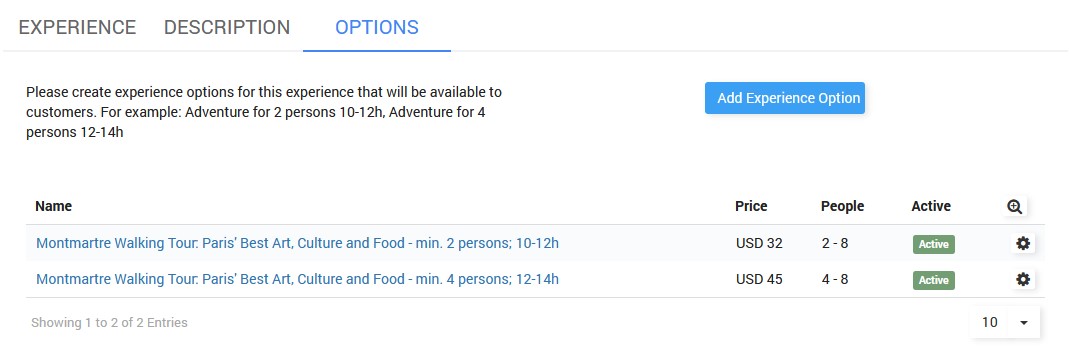
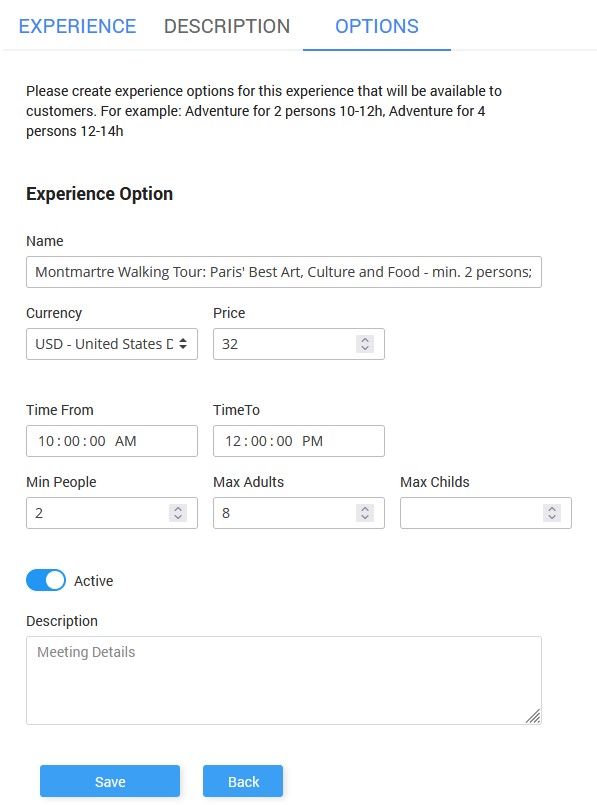
From the Options page, you have the ability to set different options for a single Experience.
For example:
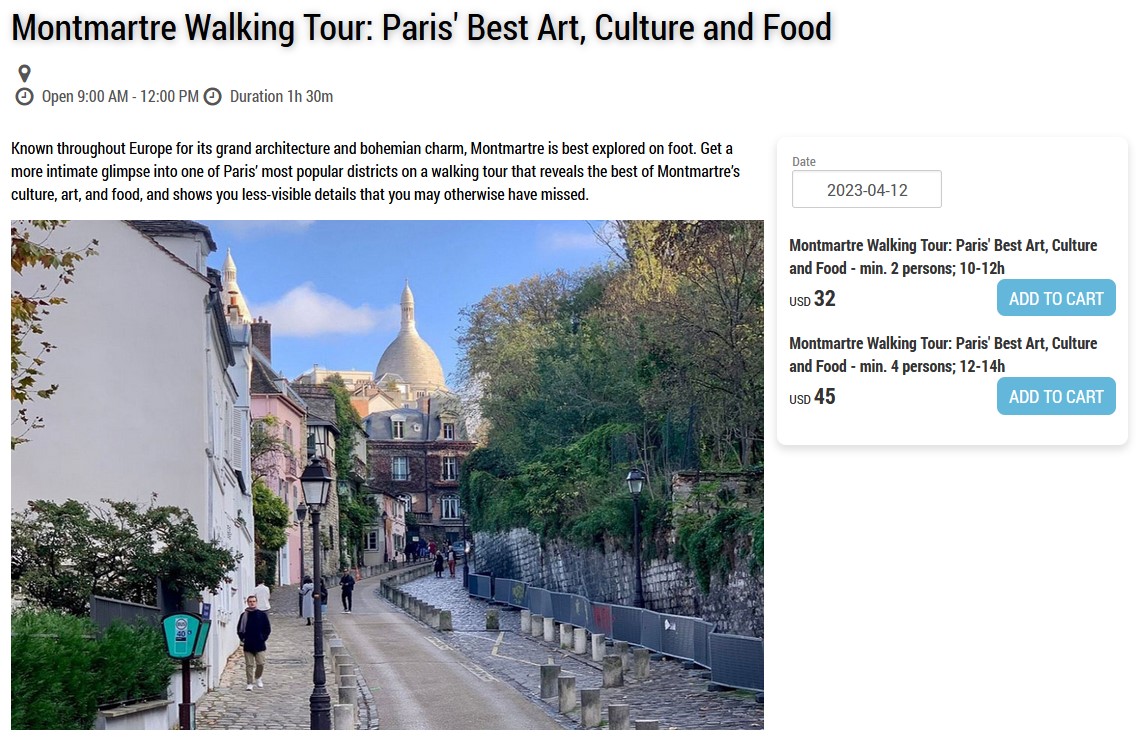
Montmartre Walking Tour: Paris’ Best Art, Culture and Food for 2 persons from 10-12h
Montmartre Walking Tour: Paris’ Best Art, Culture and Food for 4 persons from 12-14h
To create a new Option click Add Experience Option button.
Set Experience Option Name, Currency, Price, and Time From – To.
Select the minimum number of people, and the maximum number of adults and children.
Set Experience Option as Active, add Description and Save changes.
Options will be displayed on the Experience page if Booking is enabled.
Restaurants
Show nearby restaurants in your Digital Guide.
Let guests explore nearby restaurants and allow them to choose the one that suits their preferences.
To add a new restaurant, click on the New Restaurant button.
Select Guide, and Category or add a new Category.
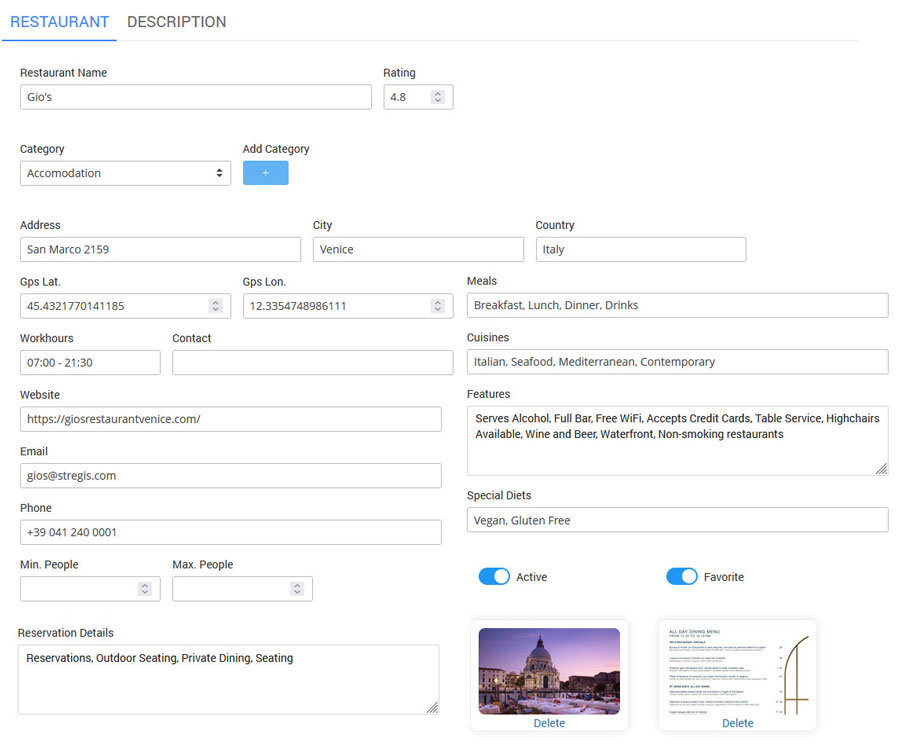
Set Restaurant details like Name, Rating, Address, GPS latitude/longitude, Workhours, Contact, Website, Email, and Phone.
Select Minimum / Maximum number of people per meal.
Add Restaurant Description and Reservation Details.
Optionally set type of Meals and Cuisines, Features, and Special Diets.
Set Restaurant as Active and optionally set it as Favorite.
Upload Restaurant photo and Menu image and Save changes.
Services
Upsell additional hotel services that you offer to the guests.
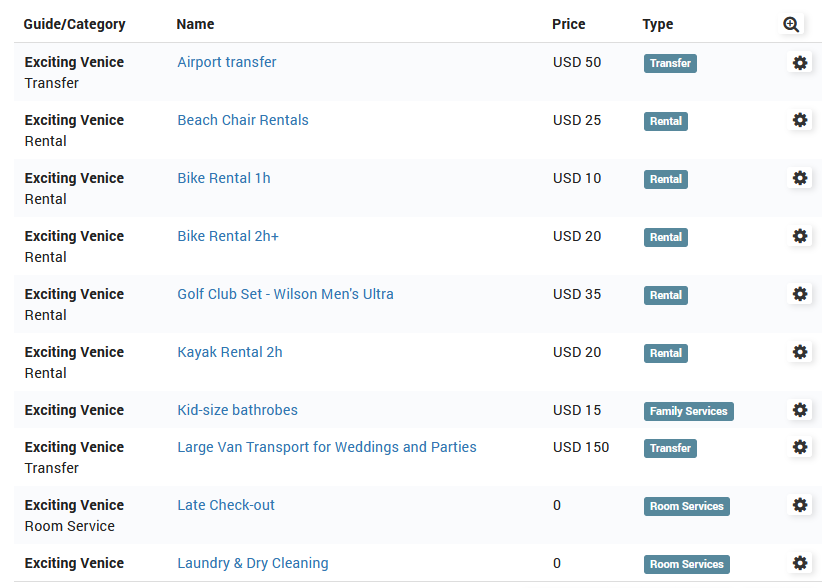
A list of created services is available from the Services page.
You have the ability to Import Services or to create new services.
To import Services click on the Import Services button.
![]()
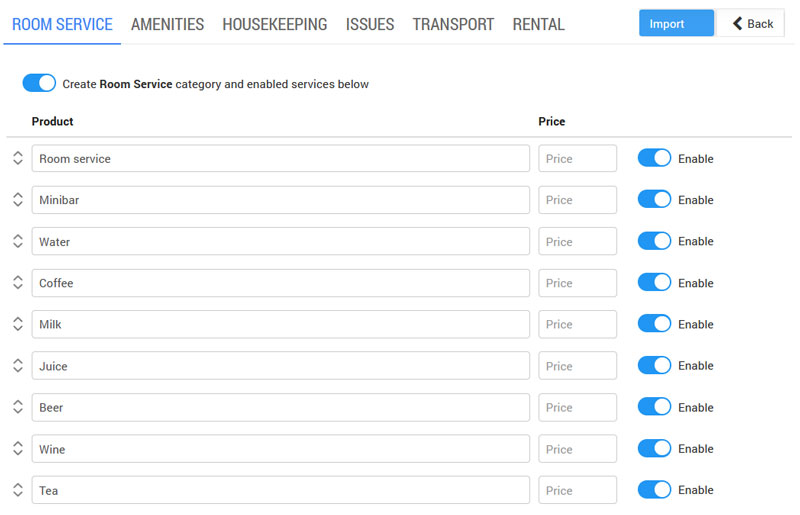
From the Import Preconfigured Services page, you can select and automatically create services you would like to offer to your guests. Disable / Enable desired product or entire category.
To add a new service click the New Service button.

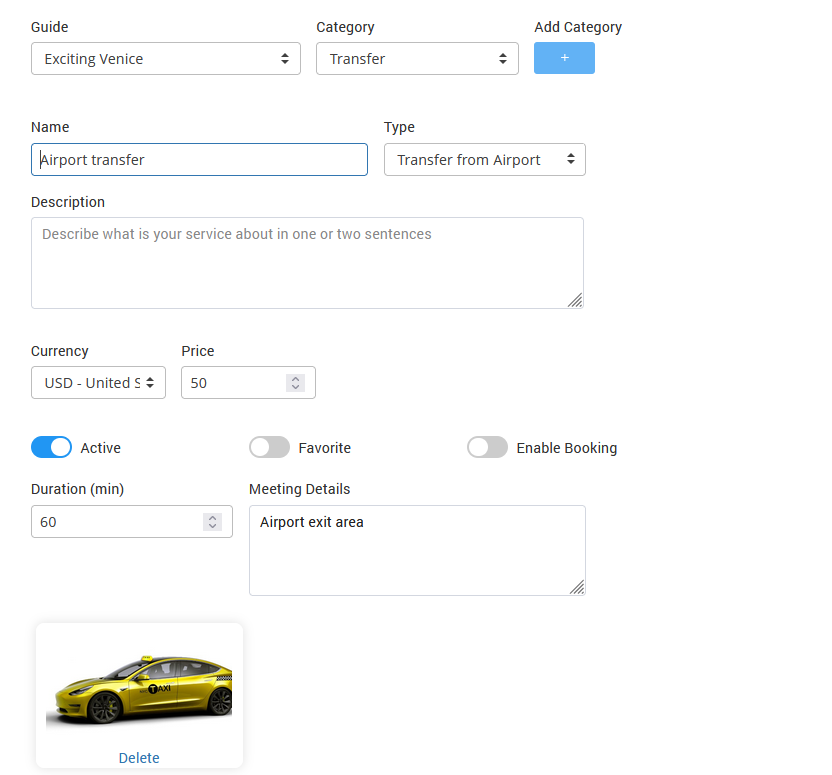
Select Guide, and Category or add new Category.
Set Service Name, select Type, and add Description.
Configure Currency and Price.
Set Service as Active and optionally set it as Favorite or enable booking
.
Additional options will appear based on the selected Type, like Duration, Meeting Details, etc…
Upload Service photo and Save changes.
Store
The online store allows customers to buy products and merchandise at any time and place. From hotel amenities and travel essentials to restaurant merchandise and gifts, your store will work 24/7.
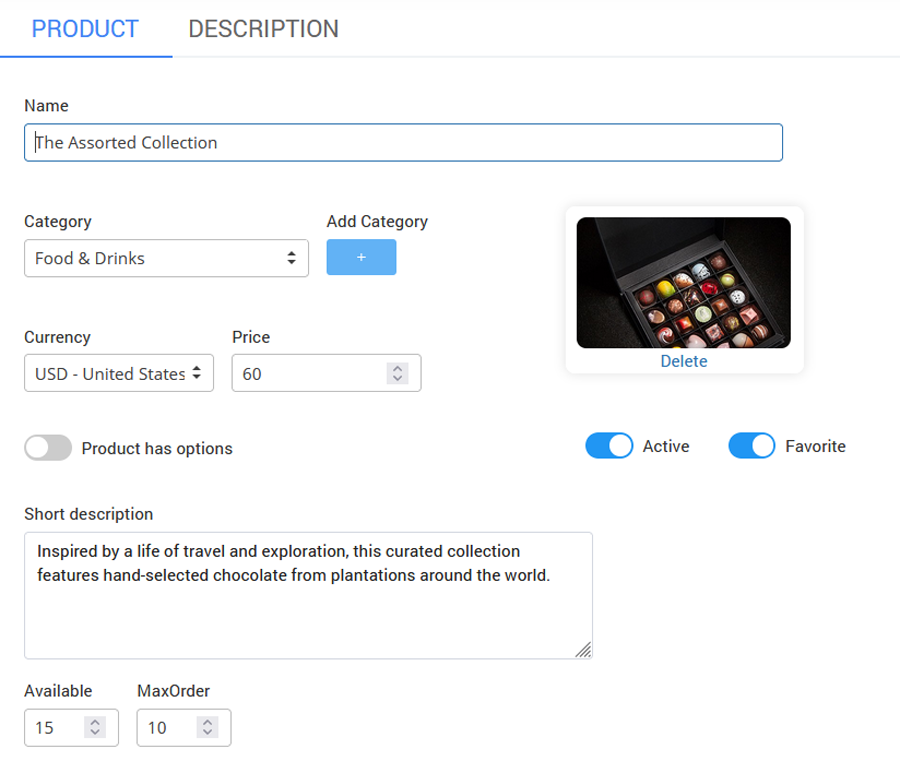
To create a Store product, go to the Store page and click the New Store Product button.
On the Product tab type Name, select store item Category and Currency, add Price and Short description, and upload product image.
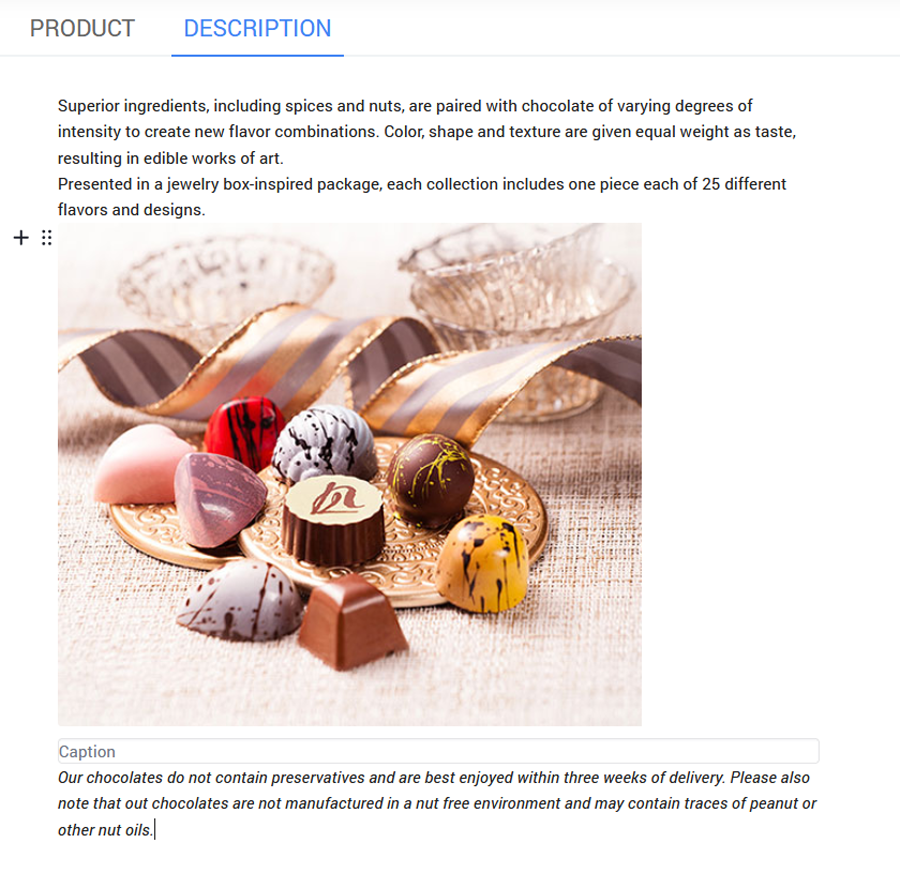
 On the Description page, add product description text, images, delimiters, checklists, and other elements using the intuitive page editor.
Categories
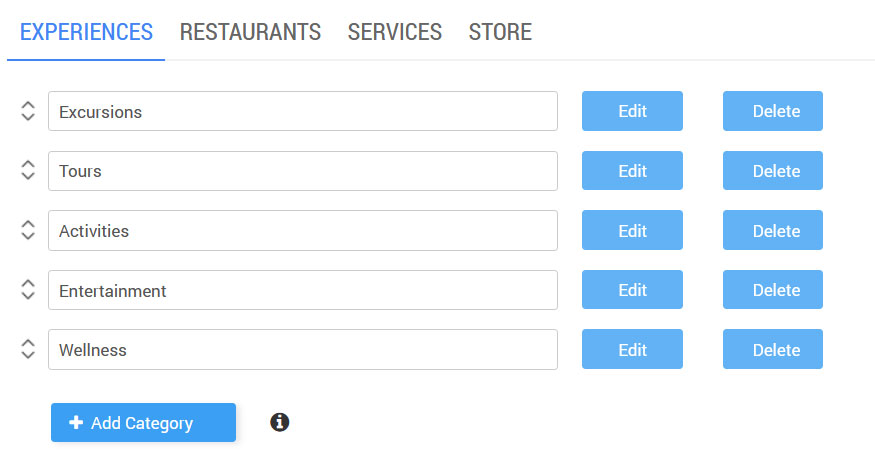
From the Categories page, you can create different sub-categories for your major content categories, Experiences, Restaurants, Services, and Store.
To create a category, click Add Category button, type category name and save changes.

