After reboot login on HotSpot.
As soon it is started you will get Setup Wizard that will guide you through the basic setup.
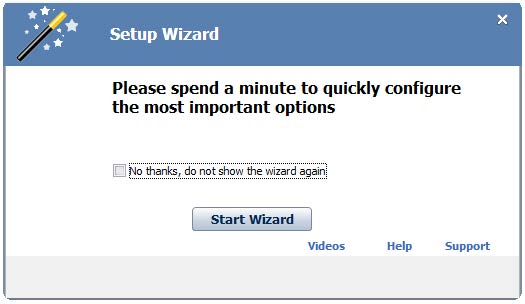 If you select “No thanks, do not show wizard again” and press on Close button, you will need to go to Setup – Network tab and to set manually network adapters and autostart.
Then press on Save and Start button.
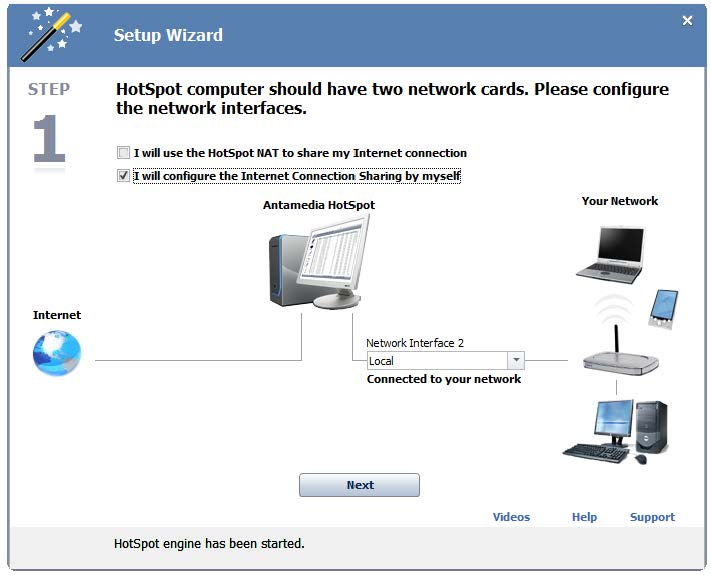
 If you click Start Wizard button, you will get the ability to choose between two methods used for computer set up as a gateway on the local network
The first is HotSpot NAT and the second is Windows connection sharing.
Select your method and press on Next to continue.
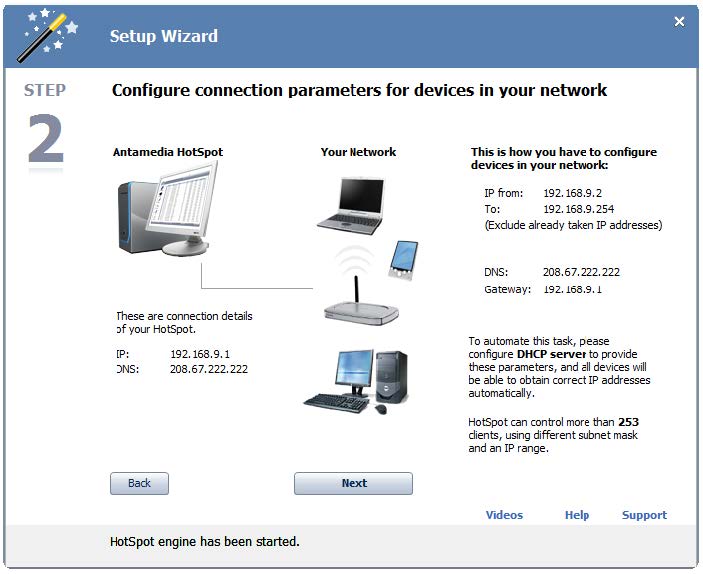
 From the new window, you get instructions on what are computer requirements and how to set it as a gateway on the network.
Press Next to continue.
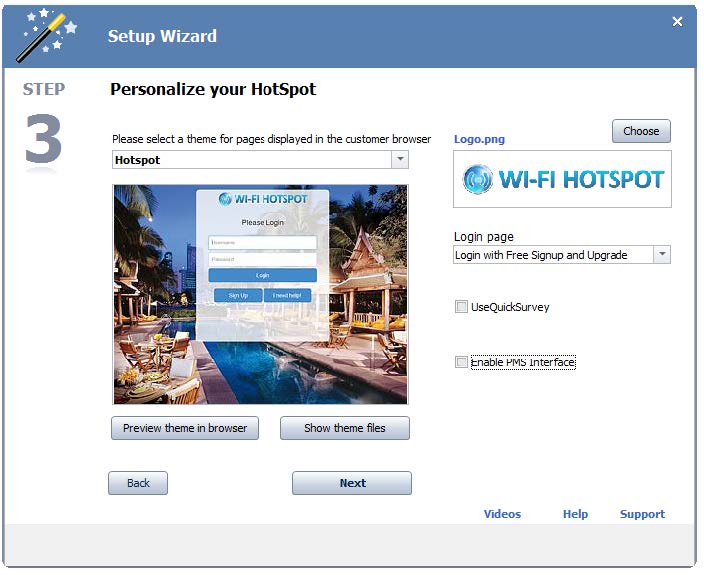
 This window gives you the ability to Personalize your HotSpot using Theme, Logo, Login page, use of Quick Survey, or PMS Integration.
Press Next to continue.
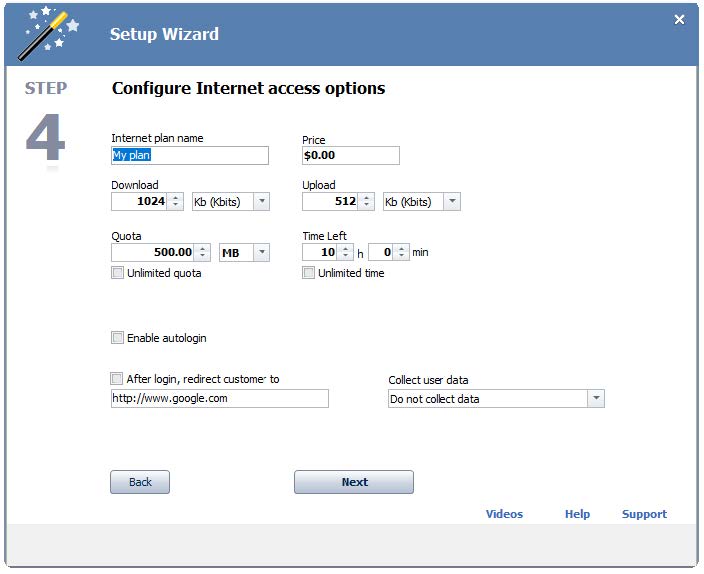
 The next Window gives you the ability to set and Configure Internet access options using an Internet plan.
Press Next to continue.
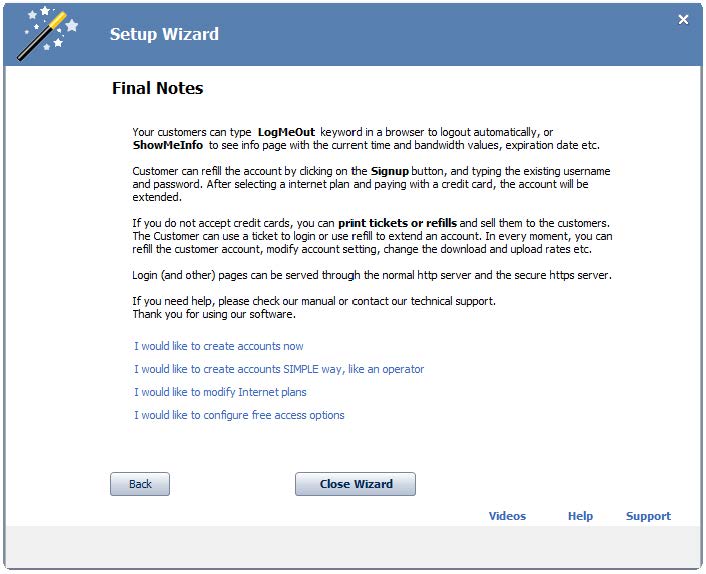
 The last window gives Final notes regarding the setup of HotSpot software.
Press on Close Wizard to stop it.
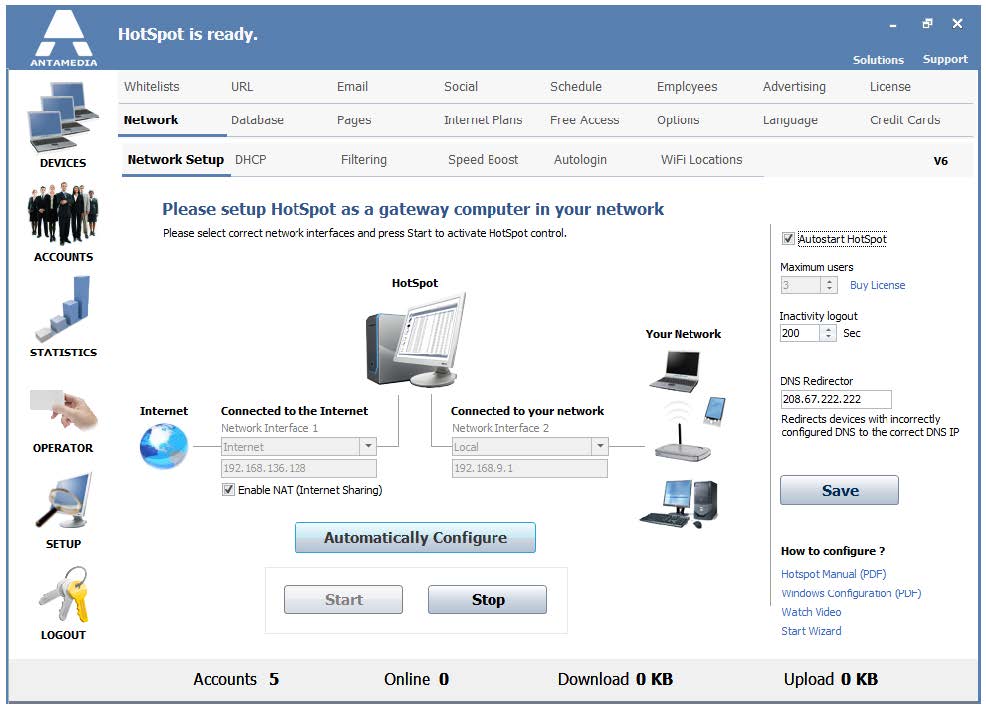
 Be sure that network connections are properly selected from the Network setup tab and press on the Start button.
