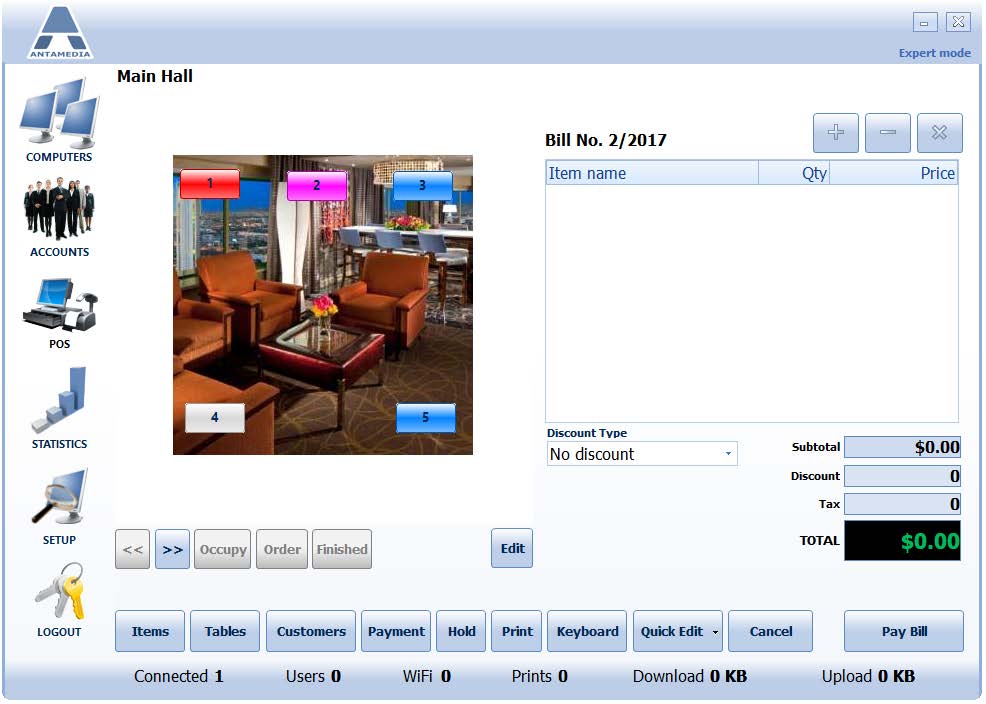
Tables screen helps you to manage tables in your property and includes support for multiple rooms.
Before you can manage your rooms and tables, you have to set up their layout.
Press on Edit button to go to the Setup menu.
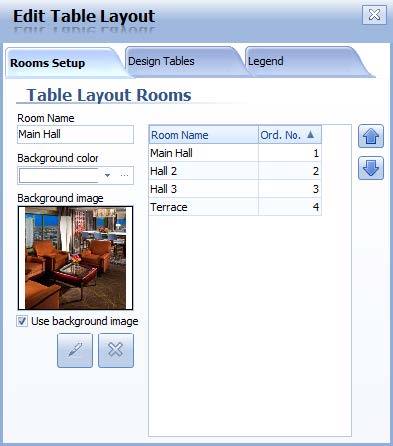
From Rooms Setup window select to edit some of the currently available rooms or click Edit button then add a new room by entering Room Name, choosing background color or image, and clicking + button.
To add a table first select a room where you want to put the new table by clicking << or >> buttons, open Design tables window (Edit button), enter the Table name, and click New Table button. Using the Design tables window you can also edit or remove tables.
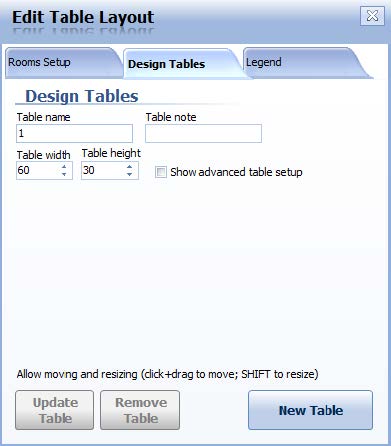
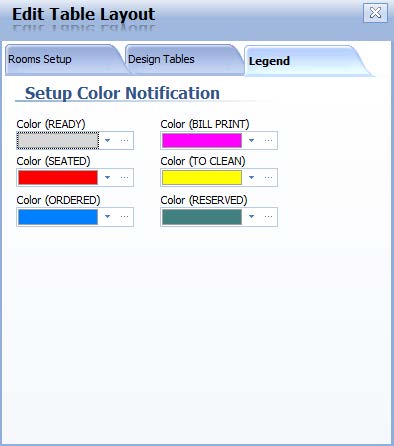
Table icons have Color Notification feature which helps you to identify table status (ready, seated, ordered, bill print, to clean, reserved). You can configure this feature in Legend window (Edit button).
When you finish with the setup it will show available tables for the selected room and status of the tables.